7 Spring Cleaning Mistakes You Are Probably Making
Spring cleaning can feel a bit tricky, especially when you’re just starting out. It’s easy to get overwhelmed or do things in a way that doesn’t quite work. But don’t worry!
We’ll break down 7 Spring Cleaning Mistakes You Are Probably Making and show you a super simple way to get your home sparkling clean. Get ready for an easy plan that makes spring cleaning feel like a breeze.
Key Takeaways
- You will learn common spring cleaning blunders to avoid.
- Discover how to effectively declutter your living space.
- Understand the best methods for cleaning different areas of your home.
- Learn tips for maintaining a clean home after the big clean.
- Find out why a step-by-step approach makes spring cleaning easier.
Getting Started: What to Do First
Starting your spring cleaning can feel like looking at a giant mountain. It’s easy to feel lost about where to even begin. Many people jump into cleaning one room without a plan.
This can lead to you missing spots or feeling like you’re not making much progress. A good plan helps you tackle your home section by section. This way, you see clear results as you go.
Creating a Simple Plan
Think of your home like a puzzle. You wouldn’t try to put all the pieces in randomly, right? The same goes for cleaning.
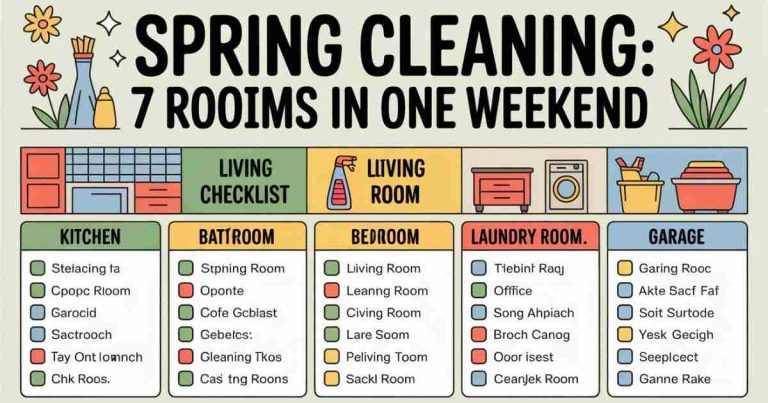
A simple plan breaks down the big job into smaller, manageable tasks. You can make a list of the rooms you want to clean. Then, list the main tasks for each room.
This makes the whole process feel less scary.
- List all the rooms in your home.
- For each room, jot down the main cleaning jobs.
- Group similar tasks together.
For example, for the living room, you might list dusting furniture, vacuuming floors, and cleaning windows. For the kitchen, it could be wiping counters, cleaning the sink, and scrubbing the stove. This organized approach helps you stay focused.
It ensures you don’t forget anything important.
Decluttering Before Cleaning
A big mistake is trying to clean around clutter. Imagine trying to dust a shelf that’s full of papers and knick-knacks. It’s hard to clean well when things are in the way.
Decluttering first makes cleaning much easier and faster. It also helps you see what you truly need and use.
When you declutter, you sort things into piles: keep, donate, or trash. This step is super important. It clears space so you can actually clean surfaces.
Without decluttering, you might just be moving dirt around.
Mistake 1: Not Having a Clear Plan
One of the biggest slip-ups beginners make is not having a clear plan before they start. They might just start cleaning one area that catches their eye, or they might feel overwhelmed and not start at all. This can lead to a lot of wasted energy and feeling like the job is never done.
A simple, step-by-step plan is like a map for your cleaning adventure.
Why Planning is Key
Without a plan, spring cleaning can feel chaotic. You might spend hours cleaning one small area. Or, you might start a task and then realize you don’t have the right cleaning supplies.
Having a plan means you know what you need to do, in what order, and with what tools. This saves you time and frustration.
- Avoids feeling overwhelmed.
- Ensures all areas are covered.
- Helps you gather the right supplies beforehand.
A good plan also helps you set realistic goals. You can decide how much time you want to spend each day or week on cleaning. This way, it feels more manageable and less like a huge chore.
It’s about making progress, not perfection, right from the start.
Mistake 2: Trying to Do Too Much at Once
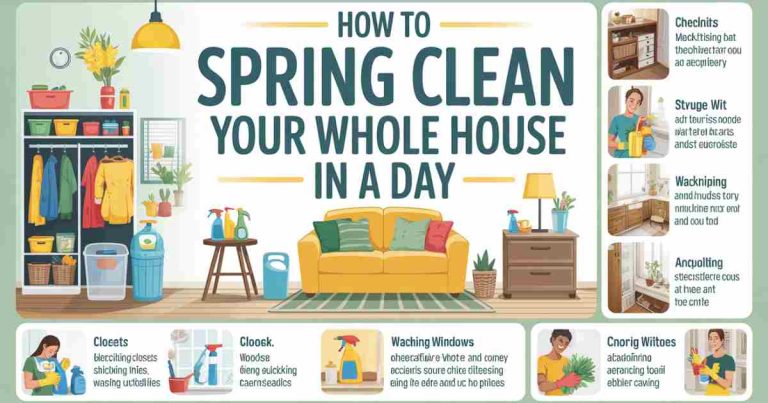
Another common error is trying to clean your entire house in a single day. This is a recipe for exhaustion and burnout. You end up feeling stressed and probably won’t do a thorough job.
Spring cleaning should feel refreshing, not like a marathon you can’t finish.
Breaking Down the Task
It’s much better to break down the big spring cleaning job into smaller tasks. You can dedicate a specific amount of time each day or weekend to one area or a few specific tasks. For example, one weekend you might focus on cleaning out closets.
The next, you might tackle the kitchen deep clean.
This step-by-step method allows you to see progress without feeling rushed. It also gives you time to rest and recharge between cleaning sessions. Think of it as a sprint here and there, not one long, exhausting race.
- Dedicate specific times for cleaning.
- Focus on one room or task at a time.
- Celebrate small victories as you complete tasks.
This approach makes spring cleaning a more enjoyable and sustainable process. It’s about making steady progress that feels good. You can enjoy your clean home without feeling completely drained by the effort.
Mistake 3: Not Decluttering First
A huge mistake many people make is trying to clean without decluttering first. You might start wiping down surfaces, but if those surfaces are covered in stuff, you’re not really cleaning. You’re just moving things around and making a bigger mess.
Decluttering should always come before deep cleaning.
The Importance of Decluttering
When you declutter, you get rid of things you no longer need or use. This can include old papers, clothes you don’t wear, or items that are broken. Once you’ve cleared out the extra stuff, you have empty space to clean properly.
This makes dusting, wiping, and organizing much more effective.
Think about it: How can you truly clean your desk if it’s piled high with papers? You can’t get to the surface. Decluttering gives your cleaning tools access to all the nooks and crannies.
How to Declutter Effectively
Start by going room by room. For each item, ask yourself: “Have I used this in the last year?” or “Do I really need this?” Have boxes ready for donations and trash. It’s a good idea to have a third box for items that belong in another room.
- Set up “keep,” “donate,” and “trash” piles.
- Be honest about what you actually use.
- Don’t try to declutter your whole house at once; take it one drawer or shelf at a time.
This process helps you clear out physical clutter and mental clutter too. A tidy space often leads to a clearer mind. Plus, donating items can make a big difference for others.
Mistake 4: Overlooking High-Traffic Areas
When you’re spring cleaning, it’s easy to focus on the big, obvious tasks like cleaning windows or scrubbing the bathtub. However, often the areas that get the most use can be overlooked. These are the places that tend to gather the most dirt and germs.
Giving them extra attention is key to a truly clean home.
What are High-Traffic Areas?
These are the spots in your home that see a lot of action. Think about things like doorknobs, light switches, and the handles on cabinets. These are touched constantly throughout the day.
Other high-traffic spots include remote controls, keyboards, and the kitchen counter where food is prepared. Even the spots on your couch where you sit the most can get grimy.
Focusing on the Forgotten Spots
Make a point to include these spots in your cleaning routine. Use disinfectant wipes or sprays for doorknobs and light switches. Give your remote controls and keyboards a good wipe-down.
Clean your kitchen counters thoroughly. These small tasks make a big difference in overall cleanliness and hygiene.
- Wipe down all doorknobs and handles daily.
- Disinfect light switches regularly.
- Clean frequently touched electronics like remotes and phones.
By paying attention to these often-missed spots, you ensure your entire home feels fresh and clean. It’s about creating a healthier environment for you and your family. These areas are often the dirtiest, so a little extra care goes a long way.
Mistake 5: Using the Wrong Cleaning Products
Using the right cleaning products can make your spring cleaning tasks much easier and more effective. Many people grab whatever cleaner they have on hand. However, some cleaners are better suited for certain jobs than others.
Using the wrong product might not clean well or could even damage surfaces.
Understanding Your Cleaning Arsenal
Different cleaning products are designed for different purposes. All-purpose cleaners are good for general wiping. Glass cleaners are best for windows and mirrors.
For tough grease, you might need a degreaser. For disinfecting, a product that kills germs is necessary. It’s also good to know what surfaces you are cleaning.
Some strong cleaners can harm wood or certain types of stone.
Examples of Product Use
Let’s say you’re cleaning your shower. A good bathroom cleaner will help tackle soap scum and mildew. For stubborn stains, a scrub brush might be needed.
If you’re cleaning your stainless steel fridge, use a cleaner specifically made for stainless steel to avoid streaks and damage. For wood furniture, a wood polish or cleaner is best.
| Cleaning Task | Recommended Product Type | Why it’s good |
|---|---|---|
| General surface wiping | All-purpose cleaner | Safe for most surfaces, good for daily messes |
| Glass and mirrors | Glass cleaner | Leaves a streak-free shine |
| Greasy kitchen surfaces | Degreaser | Cuts through tough grease and grime |
| Bathroom soap scum | Bathroom cleaner | Breaks down soap residue and mildew |
Choosing the right product means you’ll get better results with less effort. Always read the labels on your cleaning products to ensure you’re using them safely and effectively.
Mistake 6: Not Cleaning Your Cleaning Tools
This might sound a bit strange, but it’s a really common mistake: not cleaning your cleaning tools! Think about your sponges, mops, and vacuum cleaner bags. If these tools are dirty, they can’t clean your house properly.
In fact, they can spread germs and dirt around instead of removing them.
Why Clean Your Tools?
Your sponge, for example, can harbor a lot of bacteria. If you use a dirty sponge to wipe down your kitchen counter, you’re essentially spreading germs. Similarly, a dirty mop can leave streaks and grime on your floors.
A vacuum cleaner bag that’s full or dirty won’t pick up dirt effectively, and it can also blow dust back into the air.
How to Clean Your Tools
Here are some simple ways to keep your cleaning tools fresh:
- Sponges: You can microwave a wet sponge for a minute or two to kill germs. Or, toss them in the dishwasher. Replace them regularly, usually every couple of weeks.
- Mops: After each use, rinse your mop thoroughly and let it air dry completely. Wash mop heads in the washing machine if they are washable.
- Vacuum Cleaners: Empty the dustbin or replace the bag regularly. Clean the brush roll to remove tangled hair and debris. Check the filters and clean or replace them as recommended by the manufacturer.
Taking a few moments to clean your cleaning tools will make your entire spring cleaning process much more hygienic and effective. It ensures that your tools are working with you, not against you, to make your home sparkle.
Mistake 7: Not Maintaining the Cleanliness
After all your hard work on spring cleaning, the final mistake is not keeping up with it. You spend days or weeks getting your home spotless, only for it to get messy again quickly. Without a plan for ongoing maintenance, all that effort can feel like it goes to waste.
It’s important to have simple habits that help you keep things tidy.
Why Maintenance Matters
Regular, small cleaning tasks are much easier than doing a huge spring clean every time. If you let things pile up, you’ll end up with another big cleaning job sooner than you think. Keeping up with daily and weekly chores prevents clutter and dirt from becoming overwhelming.
Think of it like looking after a garden. If you weed and water a little bit each day, the garden stays beautiful. If you ignore it for weeks, it becomes a jungle.
Your home is similar.
Simple Habits for a Clean Home
Here are some easy habits to adopt:
- Daily Tidy-Up: Spend 10-15 minutes each day putting things back where they belong. Clear off kitchen counters, put away stray items, and make your bed.
- Weekly Tasks: Set aside a bit of time each week for light cleaning. This could include vacuuming main areas, wiping down bathrooms, and doing laundry.
- “Clean as You Go”: In the kitchen, wash dishes as you cook or load them into the dishwasher. Wipe up spills immediately. This prevents them from becoming tough stains.
By incorporating these simple habits into your routine, you can enjoy a cleaner home all year round. It makes the next big spring clean much less daunting. You’ll feel proud of your consistently clean and organized living space.
Frequently Asked Questions
Question: What is the first step in spring cleaning?
Answer: The very first step is to create a simple plan. Decide which rooms you want to clean and what tasks you need to do in each.
Question: Is it better to clean one room completely or do a little bit in each room?
Answer: It’s usually better to focus on one room or a specific task at a time. This helps you feel accomplished without getting overwhelmed.
Question: How often should I declutter?
Answer: Decluttering is a great habit to do regularly, perhaps once a season or even monthly, alongside your regular cleaning.
Question: My sponges smell bad. How can I clean them?
Answer: You can microwave a wet sponge for about a minute to kill germs, or wash it in the dishwasher. It’s also good to replace sponges every few weeks.
Question: What if I don’t have much time for spring cleaning?
Answer: Break it down into very small tasks. Even 15-30 minutes a day can make a big difference over time. Focus on one small area or task each session.
Wrap Up
Avoiding these common spring cleaning mistakes makes the whole process much easier. You learned how planning, decluttering, and focusing on high-traffic areas help. Cleaning your tools and maintaining your clean home are also key.
Now, tackle your spring cleaning with confidence!